Installation & Manuals
Technical Information & Downloads
Access the key guides and checklists for receiving, handling, preparing, installing, and documenting E Windowtastic windows and doors.
Installation How-To Videos
Receiving, Unloading & Pallet Handling
How to Use Window & Door Installation Clips
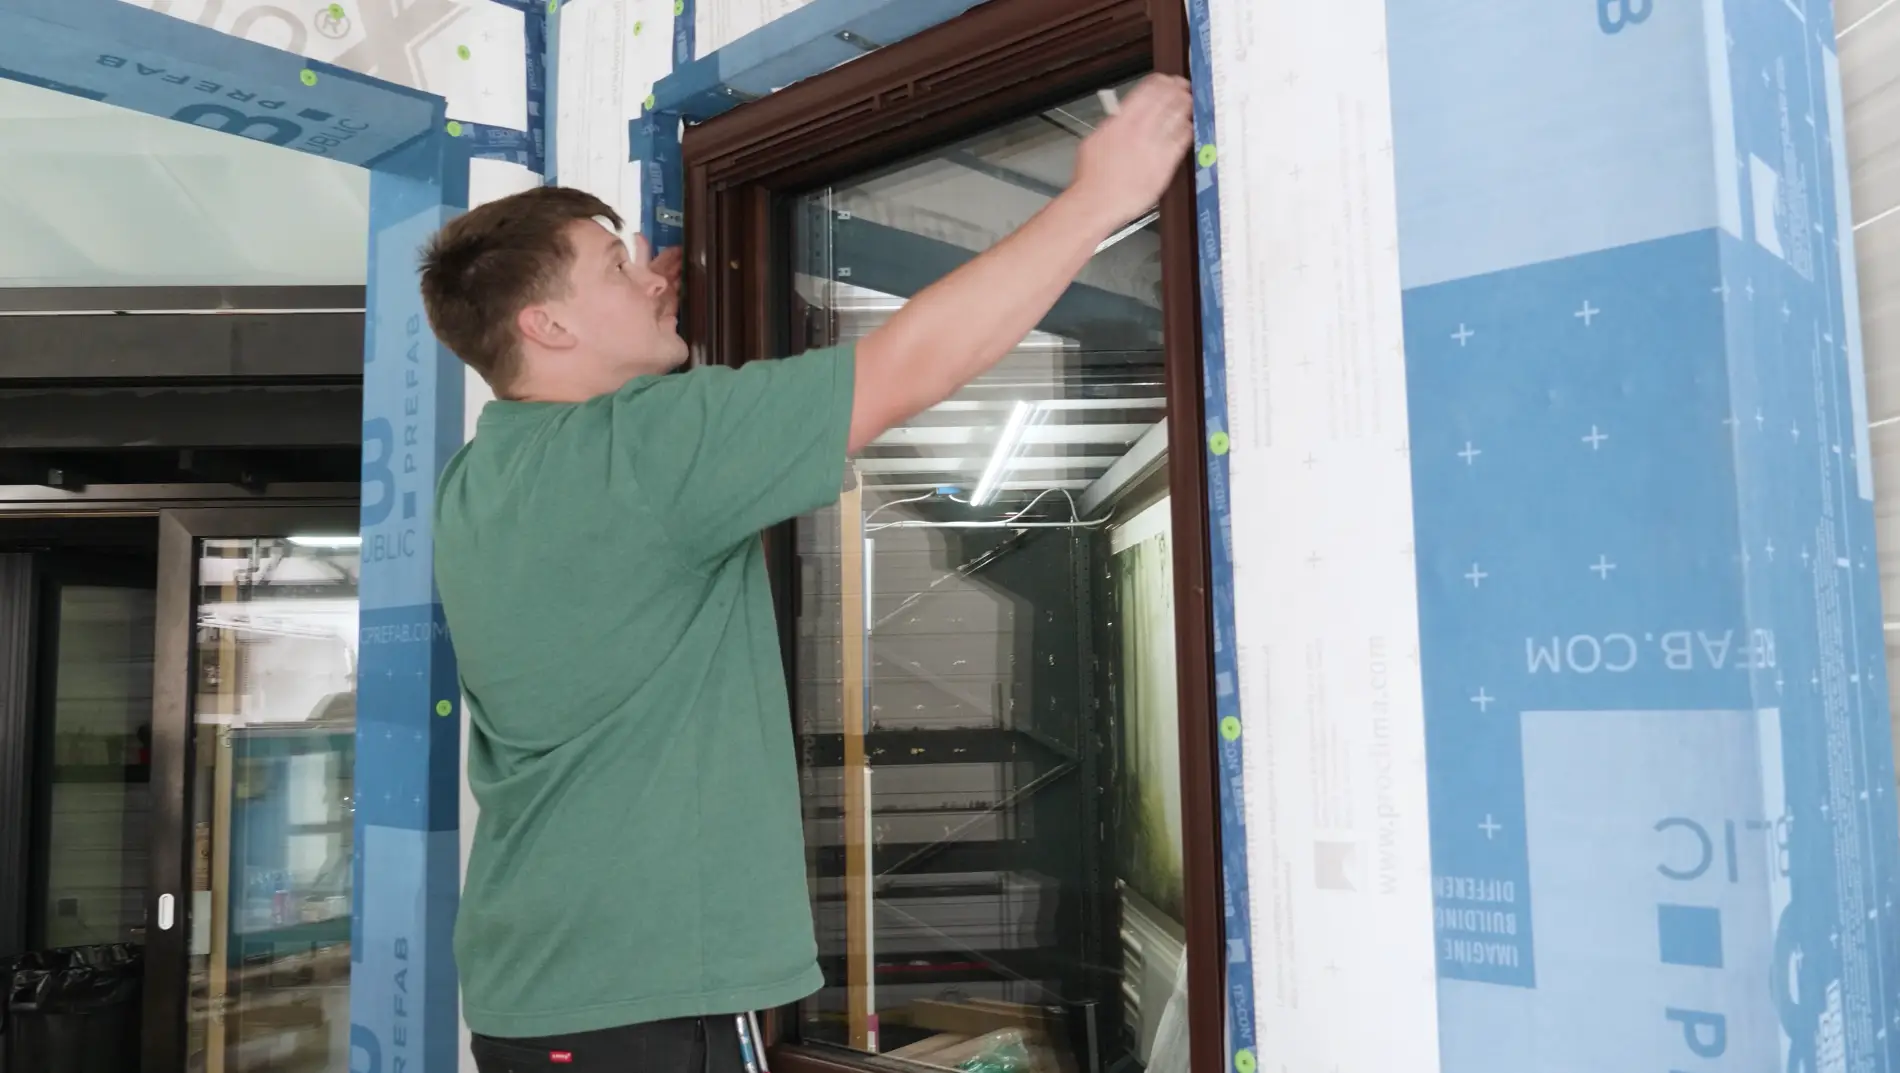
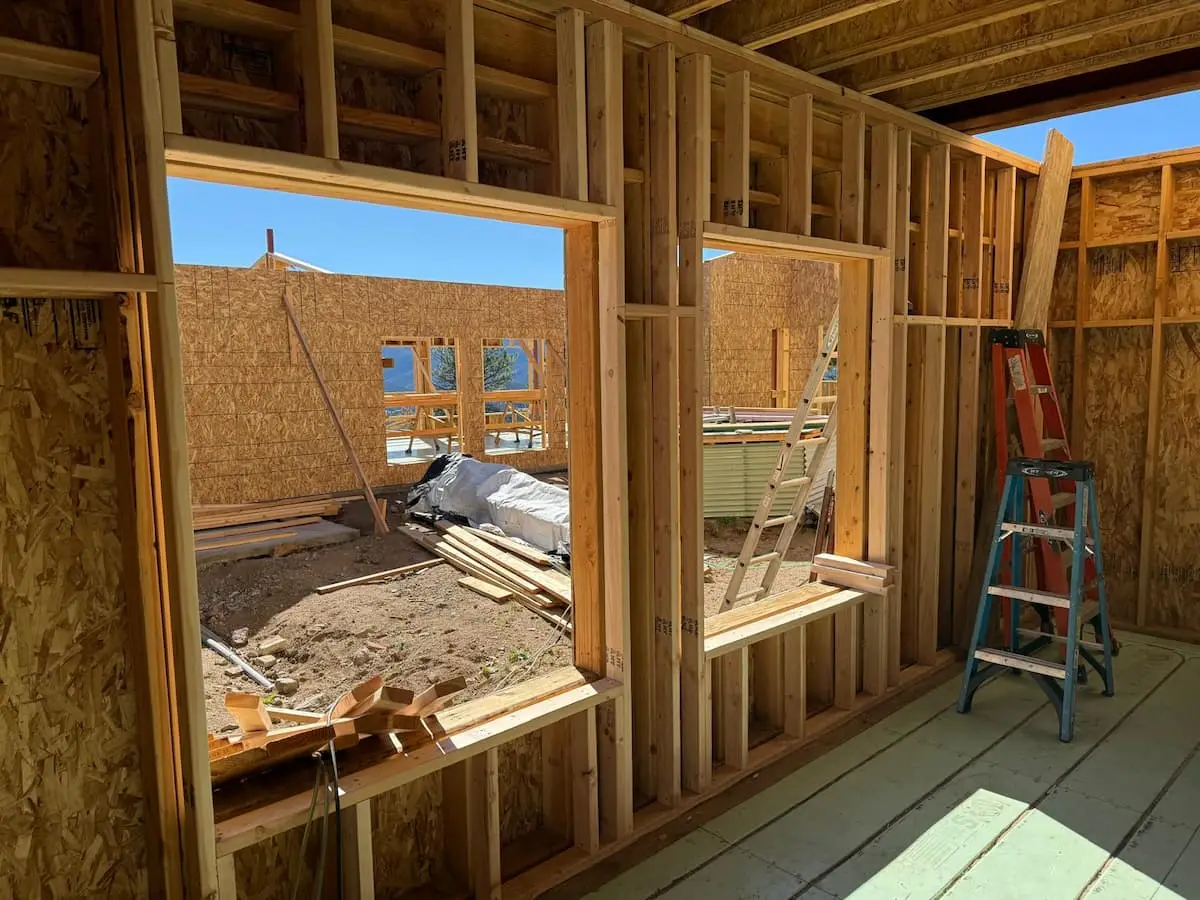
How to Prepare a Rough Opening for Window Installation
How to Set a Window in a Rough Opening
INSTALLATION PROCESS
Proper installation begins before the window or door reaches the opening. Start by confirming the delivery, documenting its condition, and handling each unit correctly before moving into preparation, installation, sealing, and final checks.
The exact installation method varies by product system and project conditions, so the applicable E Windowtastic installation guide and project-specific requirements should always be reviewed before work begins.
01 — Receive & Verify
Use the provided pre-filled Arrival Checklist when the products arrive. Match each delivered item using its:
02 — Inspect & Document
03 — Unload, Handle & Store Safely
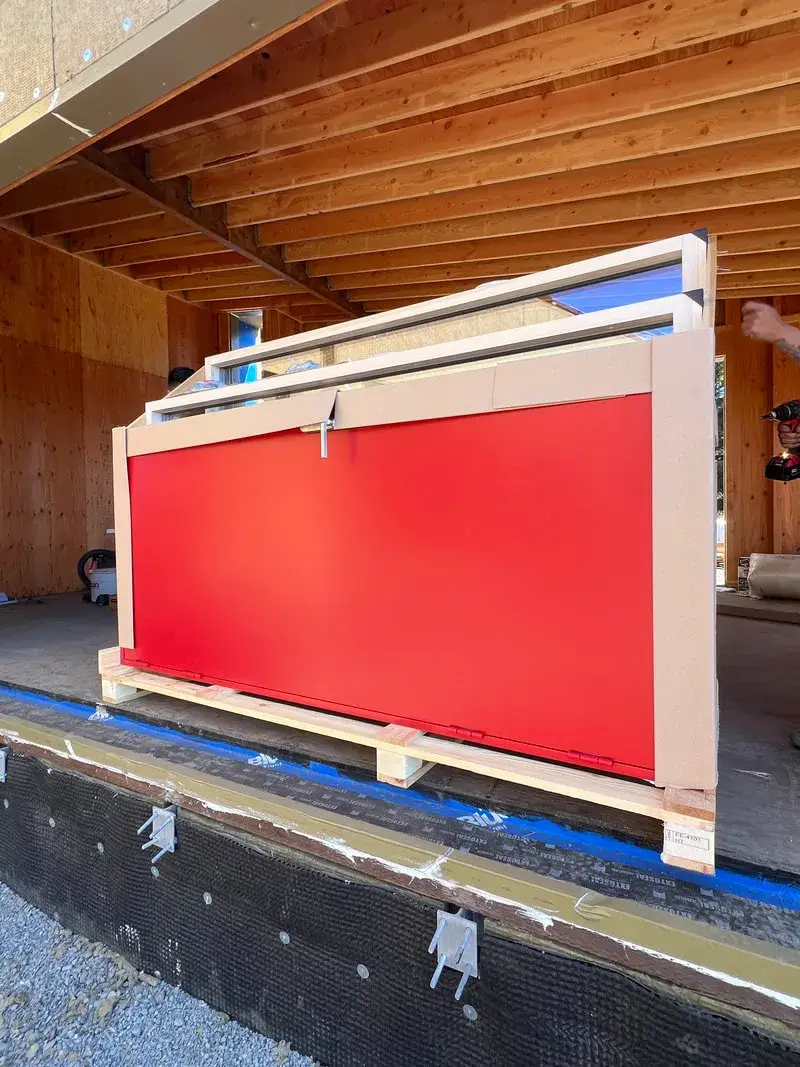
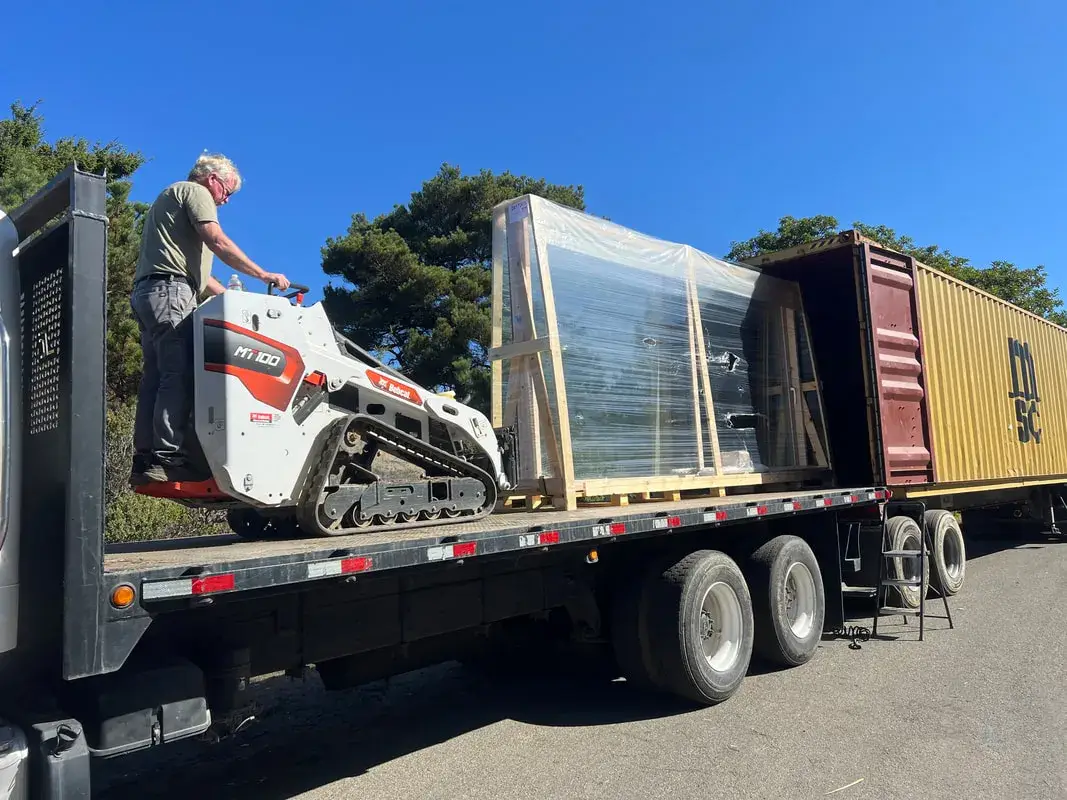
Prepare a secure, level unloading area and make sure there are enough people and suitable lifting or support equipment for the size and weight of the products.
Standard products transported on supported wooden pallets are prepared for forklift unloading. Units should remain properly supported and secured throughout handling.
After unloading, keep products upright on a secure, level surface and protect them from direct sunlight, rain, dirt, extreme temperatures, and other site conditions that may cause damage.
Important: Never leave detached or unsecured products unsupported, and do not lay window or door units flat where bending or glass damage may occur.
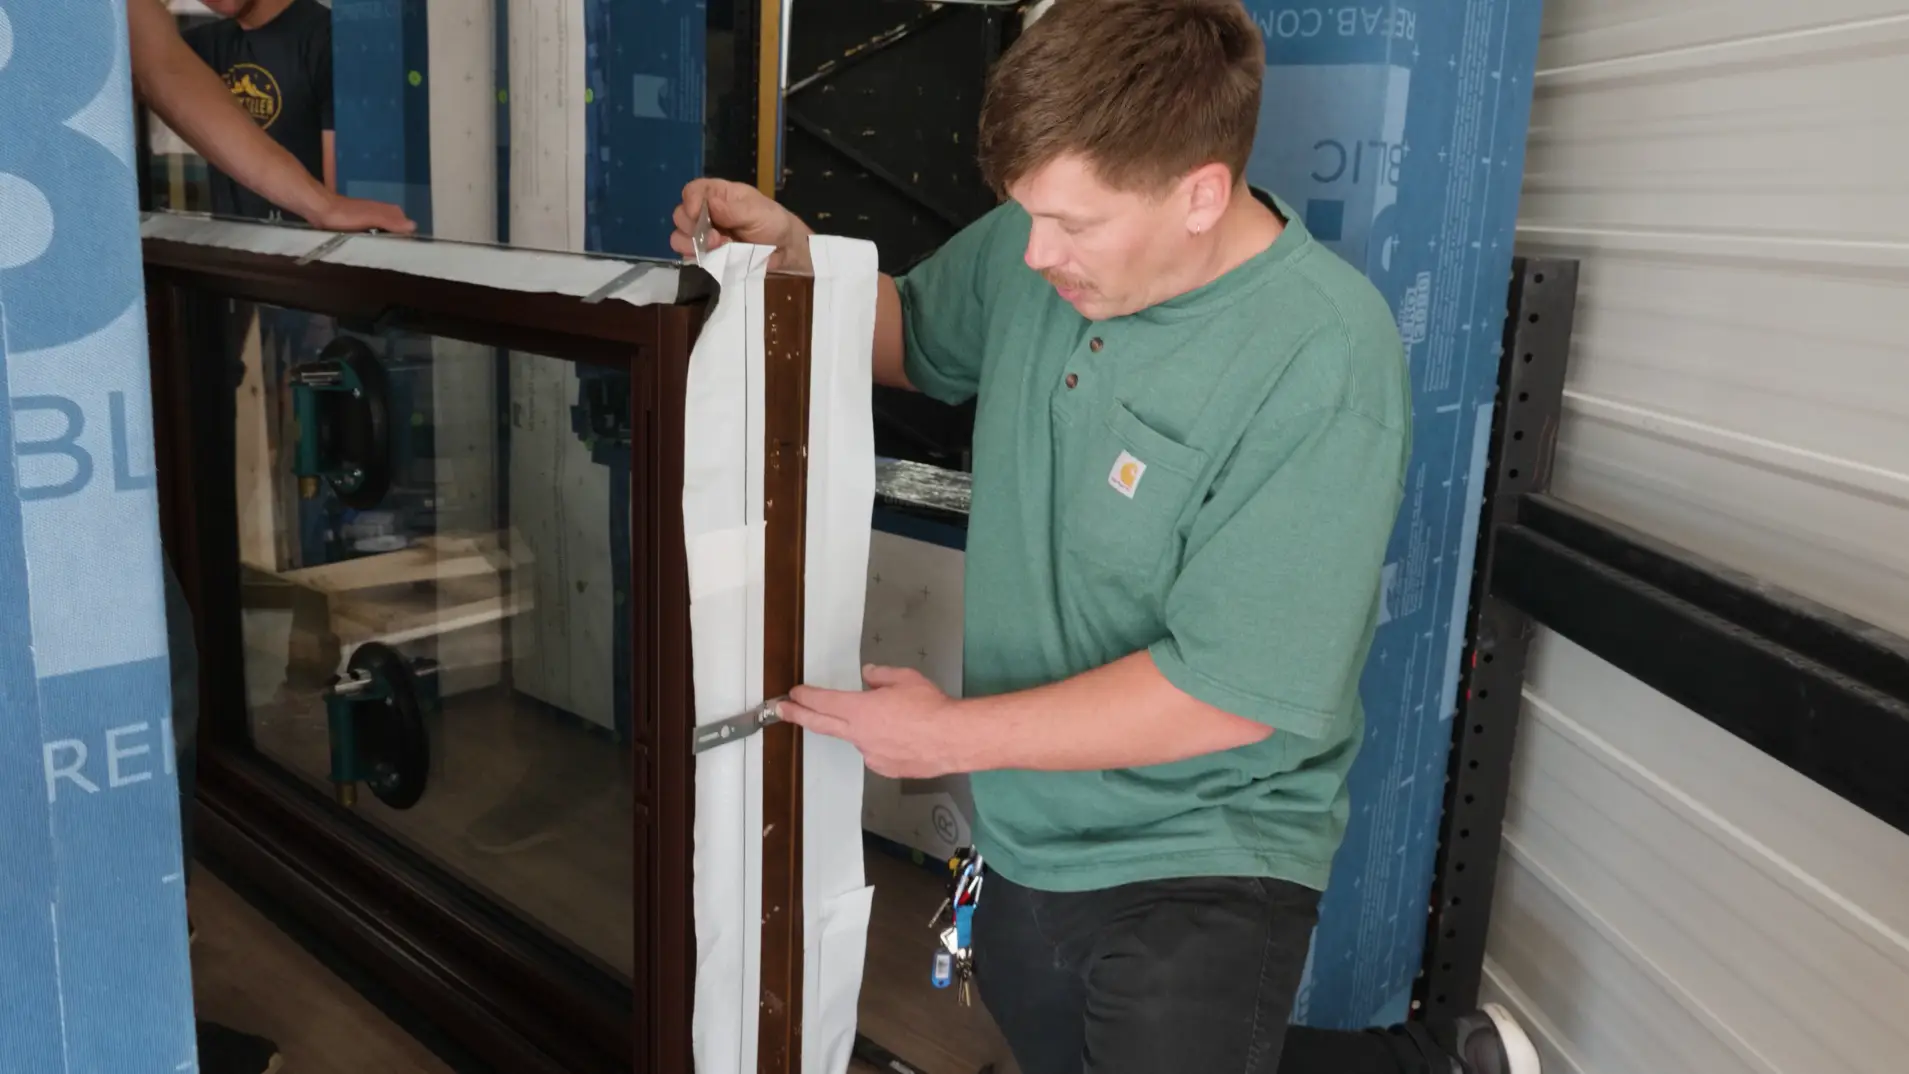
04 — Prepare, Position & Install
Before setting the product, inspect it again and confirm that the rough opening and surrounding conditions are ready for installation. Follow the installation method applicable to the selected system and project.
During positioning, confirm that the unit is properly aligned before completing the required mechanical fixing, connection, insulation, and sealing details. For applicable installations, the guide specifically calls for checking that the window is square, level, and plumb before final fixing.
05 — Check, Adjust & Complete
Once installation is complete, check that the window or door operates correctly and complete the applicable adjustments, accessories, sealing, cleaning, and final inspection. Keep the delivery checklist, photographs, and related installation documentation with the project records.
The Client-supplied checklist specifically states that the documentation is required for proper records and warranty support.